I made my fabric blocks for my nephew (1 year old) and my daughter (6 months old). My nephew has some vision issues - in fact, he is legally blind - and his doctor recommended that my sister give him toys that are black and white since black and white are the colors that contrast with each other the most. Since I was mostly making these for my nephew, I chose fabrics that were black and white. I also chose a plain black and a plain white. I am going to put his name on the cubes (one letter on each cube) and I picked out a red for the letters in his name. The fabrics are also different textures - I found some cool courderoy that had a zebra print on it.
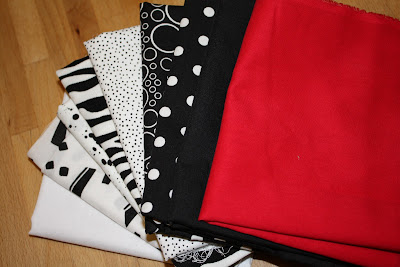 |
| Fabric |
I forgot to take a picture of the ribbons that I picked out. I chose ribbons that varied in width and in texture. Guess you'll have to wait until the end to see the ribbons. 8 )
Since I followed the tutorials above, I'll just show what I did different -
I chose a font that looked like it would be easy to sew around and spelled out the letters of my nephew's name and my daughter's name.
I cut around the letters and pinned them to the red fabric.
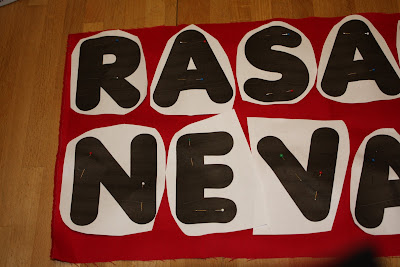 |
| Letters pinned to red fabric |
Then I cut out the letters. That was the easy part!
Then I pinned the letters to the plain black and plain white fabric. I didn't worry too much about making sure the names when black-white-black-white. I just randomly pinned the letters to the fabric colors.
 |
| Letters pinned to squares |
I'm not that great of a sewer so it was REALLY hard to sew the letters on! I'm not happy with how my stiches turned out. 8 ( I couldn't get my stiches to be the same distance from the edge of the fabric so some of them are really close to the edge of the letter and some of them are further away. I guess I'll have to look on youtube to see if there are any tutorials on how to sew on letters or rounded shapes.
I just realized that I don't have a picture of the final product. Doh!!! Lazy crafter indeed! I'll post a picture of the final product tomorrow.


